SiliCloud Help Document Center
search
Popular search terms
Install aaPanel Server Admin Panel
aaPanel is an open source web host control panel, which provides a friendly linux website management system, which can easily manage servers, websites and databases, etc. In this tutorial, I will show you how to install aaPanel on a Linux server.
Before installation you need to prepare:
Step 1: Install Xshell
For your local connection with the server you purchased, you need to use xshell remote software,
There are two recommended options for you to choose:
Use xshell to connect to the server
-
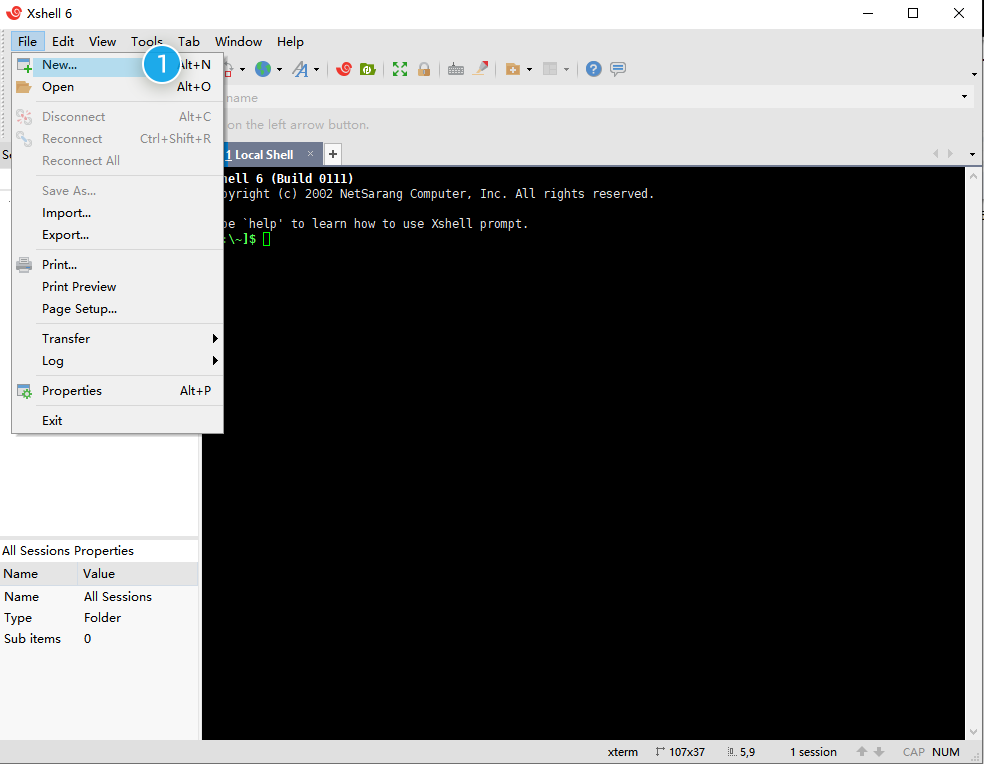
Run xshell and click: File - New
-
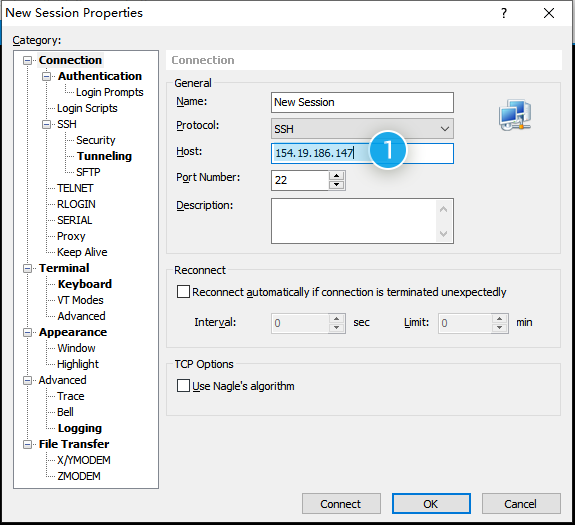
Enter your server public IPv4 address in name and host
-
Then enter username root, password
The login password is the password created for the first time when purchasing the server

-
After successful login, you will see a code similar to the following
root@en-cvm-3k5995u23i223:~#
Step 2: Install aaPanel
1. Start the installation
Before installation, you need to confirm your server system type. According to different types, copy the corresponding Mingdao to your command line window, and press Enter to install.
To avoid any mistakes in the installation, please make sure to install the aaPanel server as a clean system.
Ubuntu/Deepin** installation command
wget -O install.sh http://www.aapanel.com/script/install-ubuntu_6.0_en.sh && sudo bash install.sh aapanel

Centos** installation command
yum install -y wget && wget -O install.sh http://www.aapanel.com/script/install_6.0_en.sh && bash install.sh aapanel

Debian** installation command
wget -O install.sh http://www.aapanel.com/script/install-ubuntu_6.0_en.sh && bash install.sh aapanel
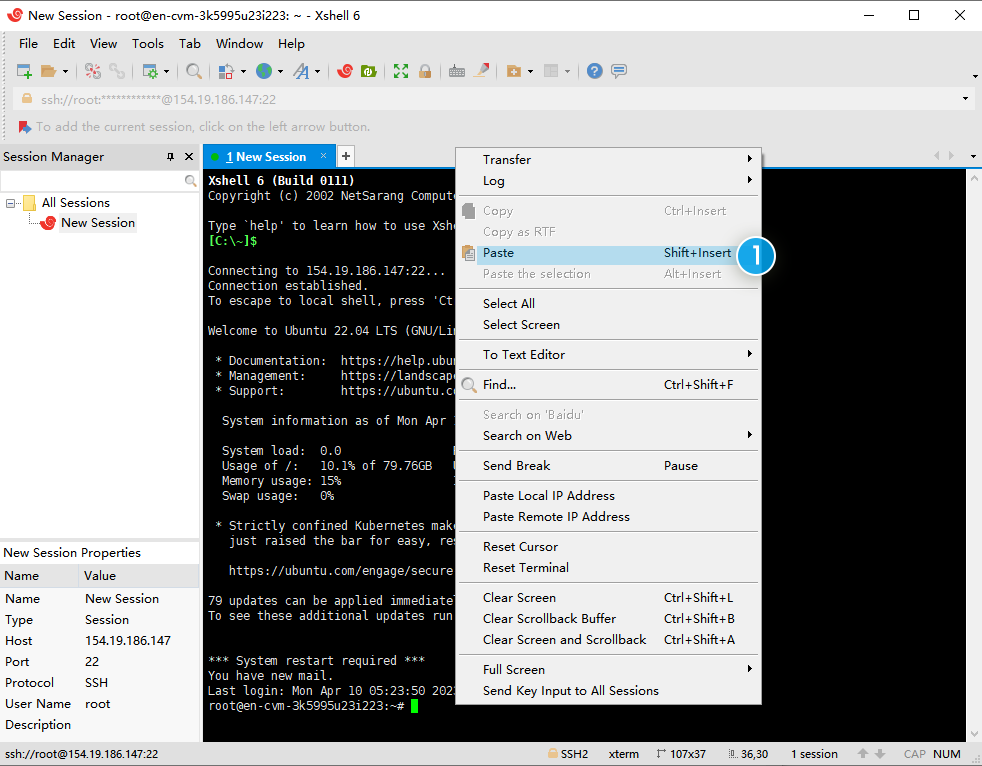
Command paste method:
After copying the command, right-click on the black blank space and select Paste, press Enter to install
2. Installation process
You will then be asked two questions during the process:
1.The installation directory of the website, just enter “y” directly (without quotation marks)
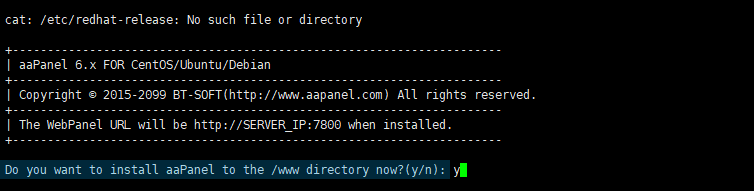
2.Whether to enable SSL on the panel, just enter “n” (without quotation marks)

3. The installation is successful
When you see the following prompt, congratulations on successful installation!
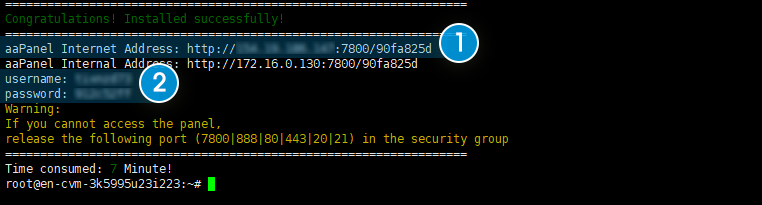
Step description
1.aaPanel panel management URL
2.Administrator account and password
Please keep your login credentials safe in case you forget them.
Step 3: Start installing the WordPress environment
Open the aaPanel panel management URL in the browser to start deploying the website environment, and you will be prompted to install the software when you visit for the first time.
We choose LNMP(Recommended), because PHP8.0 has too many uncertainties, it is recommended to use PHP7.4. Other defaults, click One-click
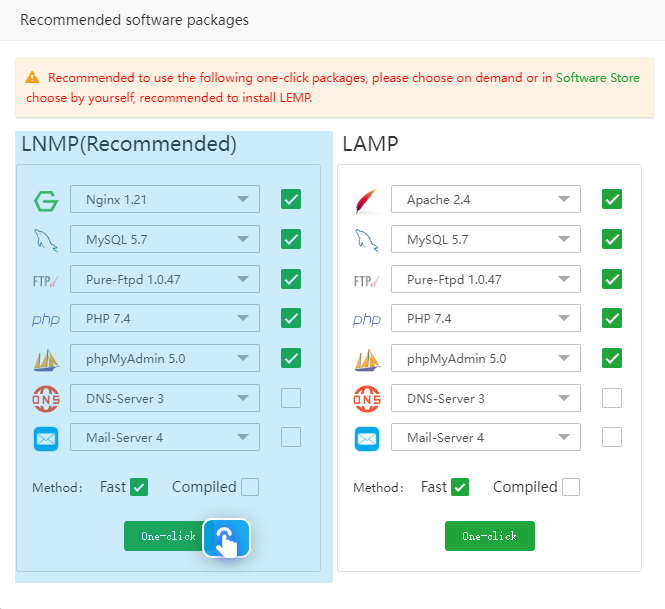
The installation process takes 5-15 minutes depending on the server configuration.
Successful installation
At the top of the left navigation of the aaPanel panel management, when the execution task is 0, it means the installation is successful. Of course, before this time, you can click on the number to view the specific installation process.
Step 4: Create Your First WordPress Site
Step description
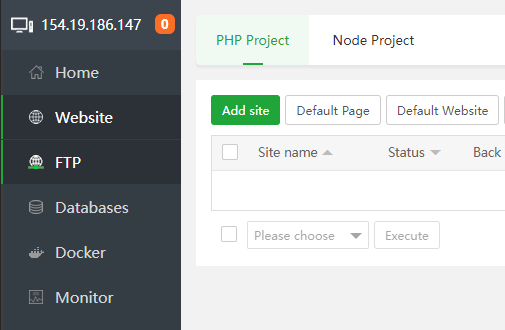
- Visit the Website
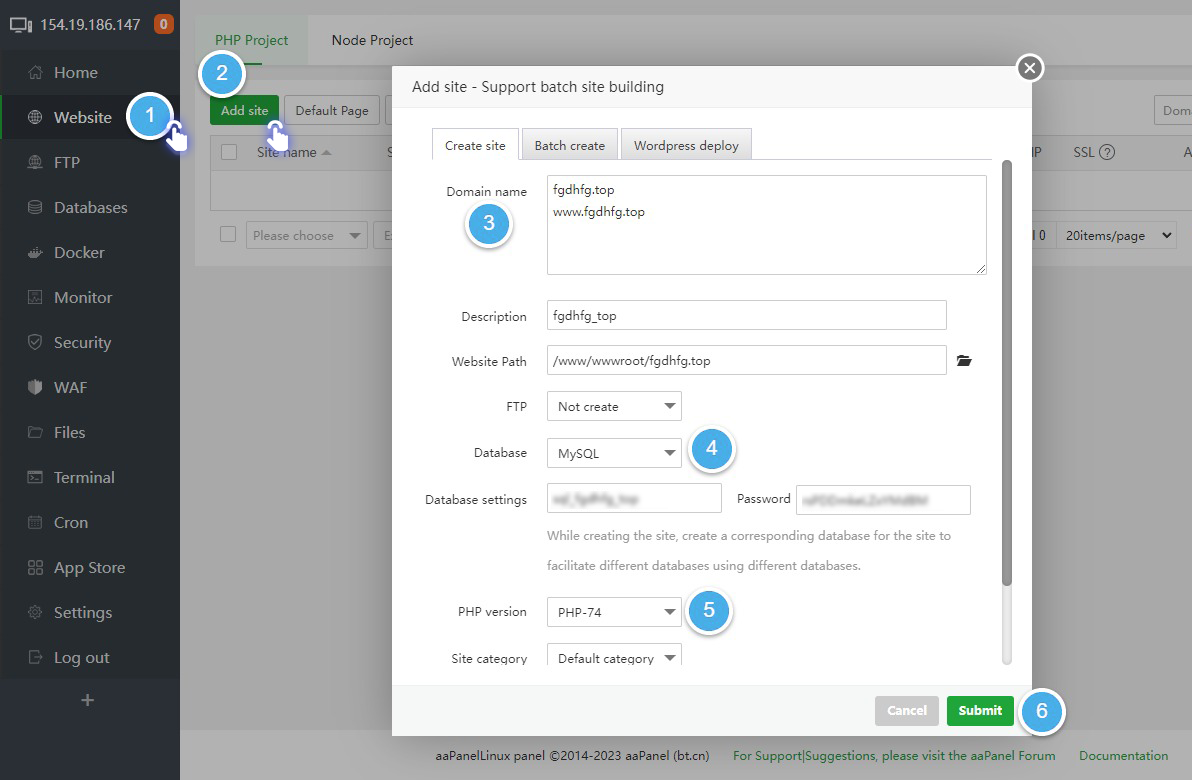
- Click Add Site to create a website
- Enter the domain name, before you make sure you have successfully resolved the domain name to your ip
- Create a new MySQL database
- Select the PHP version, considering the stability, it is recommended to choose PHP 7.4
- Save and create successfully
Related Doc
Do you have any suggestions for this document?